Mobile App Testing Checklist: 47 Checks for Any Release
A mobile app testing checklist is the fixed set of checks you run before every release, so the same faults stop reaching users twice. Below is a 47-item list across nine categories, with a threshold on every check that has one. The part most published checklists leave out is which of those items your release actually needs, and that answer comes from your own crash data and from how far the change could reach. After the list: how to cut it down for an app you didn’t write, the three passes sized to the time you have, which devices are worth owning, and what the stores do when a bad build gets through.
What belongs on a mobile app testing checklist?
Nine categories cover nearly everything that goes wrong on a phone: functionality, layout and appearance, performance, network and offline behaviour, install and upgrade, interruptions, accessibility, security and data, and device and operating system coverage. A release process that skips any of them will eventually ship something it shouldn’t.
Every published checklist agrees on roughly that outline, and then most hand you a hundred and fifty items with no indication of which ones matter for the release in front of you. That’s the part that fails in practice: a team facing a hotfix on a Friday afternoon doesn’t run a hundred and fifty checks, so the checklist gets skipped entirely and the release goes out on someone’s memory of what usually breaks. Two questions fix that, and both are answered below: which items apply to your app, and which apply to this release.
The checklist: 47 checks across nine categories
Here is the master list, with a threshold on every check that has one. Do not run all 47 on every release: cut it down using the evidence in the next section, then run the pass that matches the risk of the change. The three passes further down are subsets of this list, not separate lists.
What kind of app you have decides how much applies. A native codebase puts the whole device surface in scope. A hybrid or web view app adds the bridge between the web layer and the native one, which is where its distinctive bug lives. React Native and Flutter ship like native apps but bring their own rendering quirks, so the layout and performance items carry more weight there.
Functionality
- Sign up, sign in, sign out, sign in again on the same device
- The flow that takes money, end to end, in a sandbox account
- Every tab, menu item and back path lands where it claims, including Android’s gesture and hardware back, which has no iOS equivalent and is what iPhone-first teams forget
- Deep links and notification taps open the right record, from a cold app and a warm one
- Search returns results, survives an empty query, and shows a real empty state
- Forms reject bad input with a message naming what is wrong, and raise the right keyboard for the field
Layout and appearance
- Largest system text size: nothing truncated, overlapping, or pushed off screen
- Dark mode on both platforms, with no invisible text
- Rotation works, or is explicitly locked
- The keyboard does not cover the field being typed into or the button under it. iOS overlays content and Android resizes it, so this fails one platform at a time
- Contrast at 4.5:1 for body text, 3:1 for large text
- Every async action has a loading state; every failure has an error someone can act on
Performance
- Cold start under three seconds on the slowest device you support
- Long lists scroll without dropped frames or blank rows
- Memory flat after twenty minutes of continuous use
- Battery drain proportionate to what the screen is doing
- Download size compared against the last release, so a dependency bump doesn’t double it
- User-facing requests return inside two seconds, and show more than a spinner when they don’t
Network and offline
- Airplane mode on a screen that needs data: a real message, not an endless spinner
- Connection dropped mid-save then restored: the record is written once, not zero times and not twice
- A slow connection, not only an absent one (Network Link Conditioner, or the emulator’s network profiles)
- Switching from Wi-Fi to cellular mid-session
- A session expiring mid-action: the app re-authenticates or asks, rather than failing quietly
Install and upgrade
- An upgrade install over the currently published store build, on data that build created
- A fresh install on a device that has never had the app
- A reinstall after deletion, with no stale keychain entry leaving someone half signed in
- Any database migration run against a real database from the previous version
- Permissions denied at the first prompt, then granted later in system settings
Interruptions
- An incoming call during the flow that takes money
- Backgrounded thirty minutes, then reopened
- The device locked and unlocked mid-flow
- Low power mode, and a device nearly out of storage
Accessibility
- Your main flow completed with VoiceOver on and the screen ignored, then repeated with TalkBack
- Every control announces what it does, not the file name of its icon
- Focus order follows the visual order of the screen
- Tap targets at 24 by 24 CSS pixels, which is Success Criterion 2.5.8 at Level AA. The 44 by 44 figure most checklists quote as the WCAG minimum is 2.5.5, and that one is Level AAA
- Reduce Motion honoured by any animation that moves a large area
Security and data
- Tokens in the iOS keychain or the Android keystore, never in plain preferences
- Every request over HTTPS with certificate validation left on in the release build
- Nothing sensitive in a release build’s logs, which is worth a grep before you tag
- Signing out invalidates the session on the server, not only on the device
- Sensitive screens excluded from the app switcher, where your threat model asks for it
Devices and OS coverage
- Six to ten device and OS combinations, covering about ninety percent of your sessions
- Two Android manufacturers at least, because One UI and MIUI change background limits, notification behaviour and status bar height
- One mid-range Android, where memory and performance problems appear first
- The oldest operating system version you still claim to support
- One device with a notch or Dynamic Island and one without, plus a foldable if your analytics show them
How do you build a checklist when nobody documented the app?
You derive it from three sources the app already produces, none of which needs a specification or a handover document: the crash reports, the analytics, and the one star reviews. That matters because the person holding a testing checklist is very often somebody who inherited a working app from a developer who’s gone, with no test cases, no written requirements and no idea which screens are fragile.
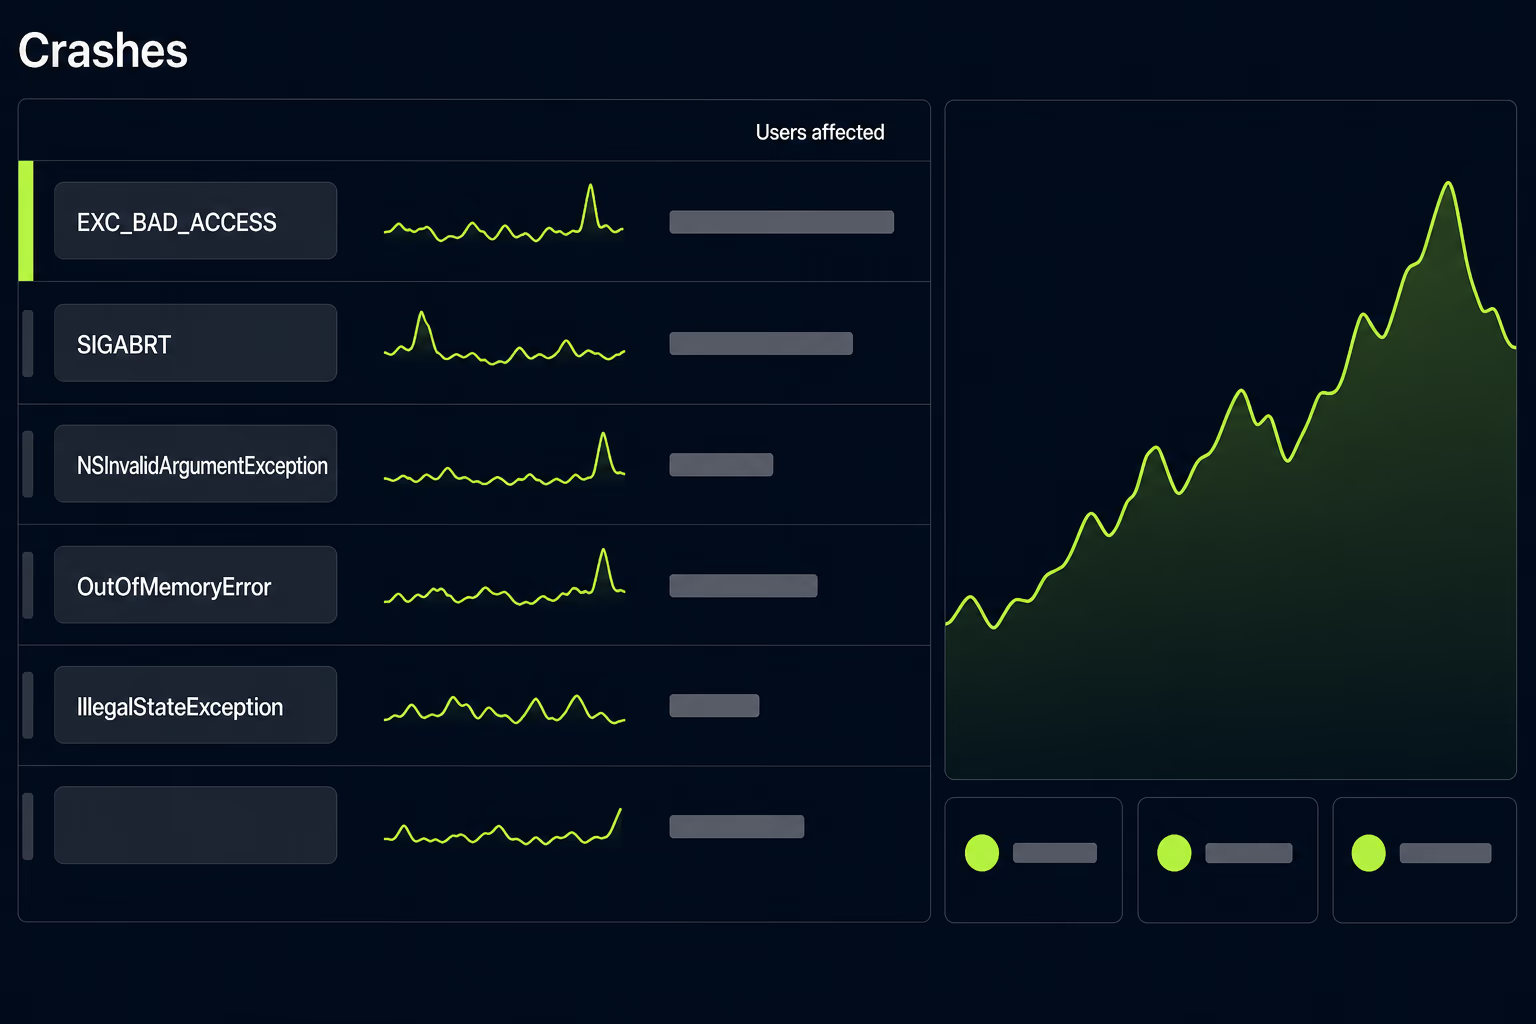
Start in the crash reporting tool, whichever one you have, and sort by users affected rather than by number of events. The top ten issues name the screens that are already unstable under real conditions, and those go onto your checklist regardless of what this release changes. If nothing is installed at all, that’s the first fix, and picking between Crashlytics and Sentry is a short decision rather than a long one. Getting that visibility in place is the opening move of any mobile app stabilization work.
Then list the ten screens with the most sessions in your analytics; those are your functional coverage, and they’re frequently not the screens the previous team cared about. Finally, sort your store reviews by lowest rating and read the last fifty. What surfaces there is the loud stuff: sign in loops, sync that loses data, notifications that never arrive, purchases that charge without granting anything.
Merge the three lists, order them by how many people each item affects, and cut the 47 down to that. When RapidLabs takes over somebody else’s codebase this document is the first thing we produce, before anyone changes a line of code, because it doubles as the fastest honest answer to how bad the situation really is.
What do you check when you only have two hours?
The short pass covers the change you made, the paths it can reach, and the handful of things that must never break. Most releases are small and most teams don’t have a day to spend on them, and a two hour pass that actually happens beats a full pass that gets skipped.
- The exact bug you fixed, on a device that reproduced it
- Cold launch from a fully closed app
- Sign in, sign out, then sign in again
- The flow that takes money
- The screens nearest the code you touched
- An upgrade install over the currently released version
That last one earns its place more than anything else here, and it is the item most published checklists omit. A fresh install starts with an empty database, so it quietly avoids every migration path in the app, and a bug that only appears when yesterday’s data meets today’s code passes a fresh install test perfectly. Install the published build from the store first, use it enough to create real data, then install your candidate over the top.
What does a half day of testing cover before a normal release?
The half day pass is regression testing: re-running the checks that protect the parts of the app you didn’t intend to change. Most bad releases aren’t the new feature failing, they’re the new feature breaking something three screens away that nobody thought to open.
- Every screen in your analytics top ten
- Notification arrival, tap, and where the tap lands
- Offline use, then reconnecting mid action
- Rotation and the largest system font size
- Purchase or subscription flow in a sandbox account
- Backgrounding the app for thirty minutes, then returning
One of those repays the time more than the rest: offline is worth testing as an interruption rather than as a state. Turning the connection off before you open a screen is the easy case most apps handle. Turning it off halfway through a save is where you find out whether the app retries, duplicates the record, or throws the change away.
What goes into the full pass before a risky release?
Reserve the full pass, meaning all 47, for releases that change the ground the app stands on: an operating system target bump, a payment or authentication provider swap, a database migration, a design system rewrite, or the first release after somebody new takes over the codebase. On those the release date should move rather than the pass getting trimmed, and accessibility is the category to protect when the schedule tightens, because it is the one teams skip first and regret most.
Store requirements belong in the full pass too, because a build that works perfectly can still be refused. Android releases have to clear the current target API level requirement, and iOS releases have their own recurring App Store rejection reasons that have nothing to do with whether the app runs correctly.
Which devices and OS versions should you actually test on?
Take the device list from your own analytics, sort by session count, and work down until you’ve covered around ninety percent of sessions. That usually means six to ten combinations rather than the enormous matrices some vendors recommend. Buying devices your users don’t own is a popular way to feel thorough while testing nothing that matters.
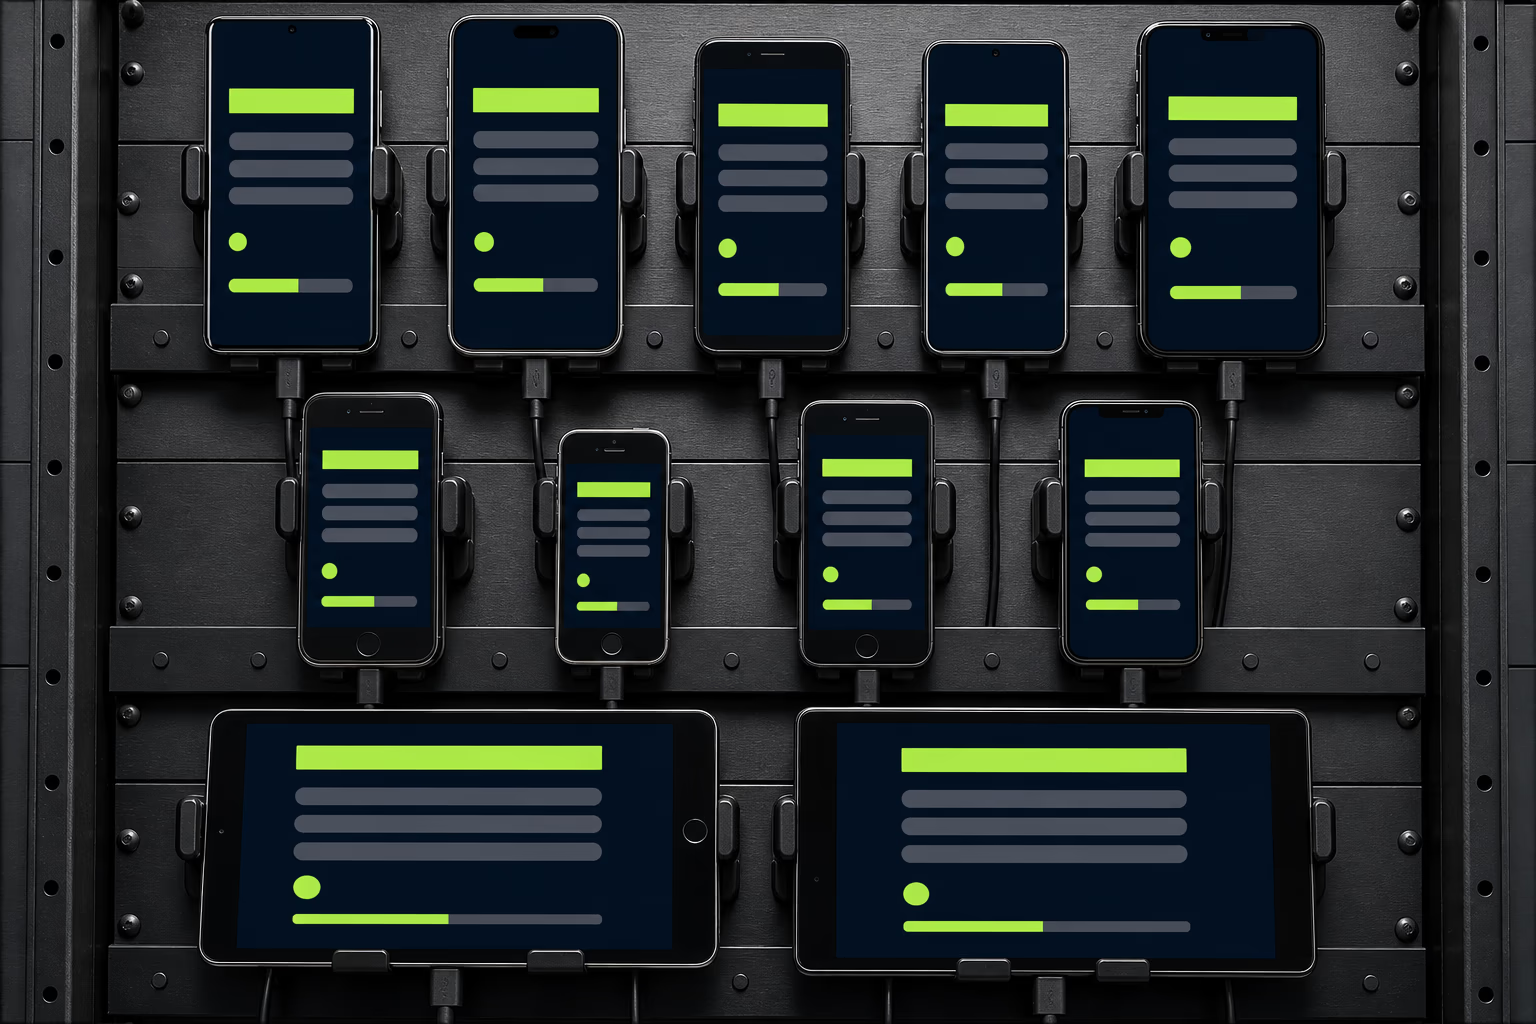
The shape of the set matters more than the count, and the one worth arguing for is the mid range Android, because it has less memory headroom and a slower processor than anything on your team’s desk. While you’re there, check whether the oldest operating system version you claim to support is still worth claiming: supporting a version used by two percent of your users costs testing time on every release, and dropping it should be a decision rather than neglect.
Use simulators and emulators freely during development, and real hardware for the pass that decides whether a release ships. An emulator runs on your computer’s processor with your computer’s connection, so it can’t show you a phone getting warm and slowing down, a manufacturer’s modified version of Android, or a cellular connection dying in a car park. Cloud device services cover the long tail once your own drawer of phones handles the common cases.
How do the stores punish an app that ships broken?
Google Play measures stability continuously and reduces your visibility when it slips, while Apple mostly catches problems at review time and sends the build back. Only the Android side publishes numbers, which makes it the target you can manage against.
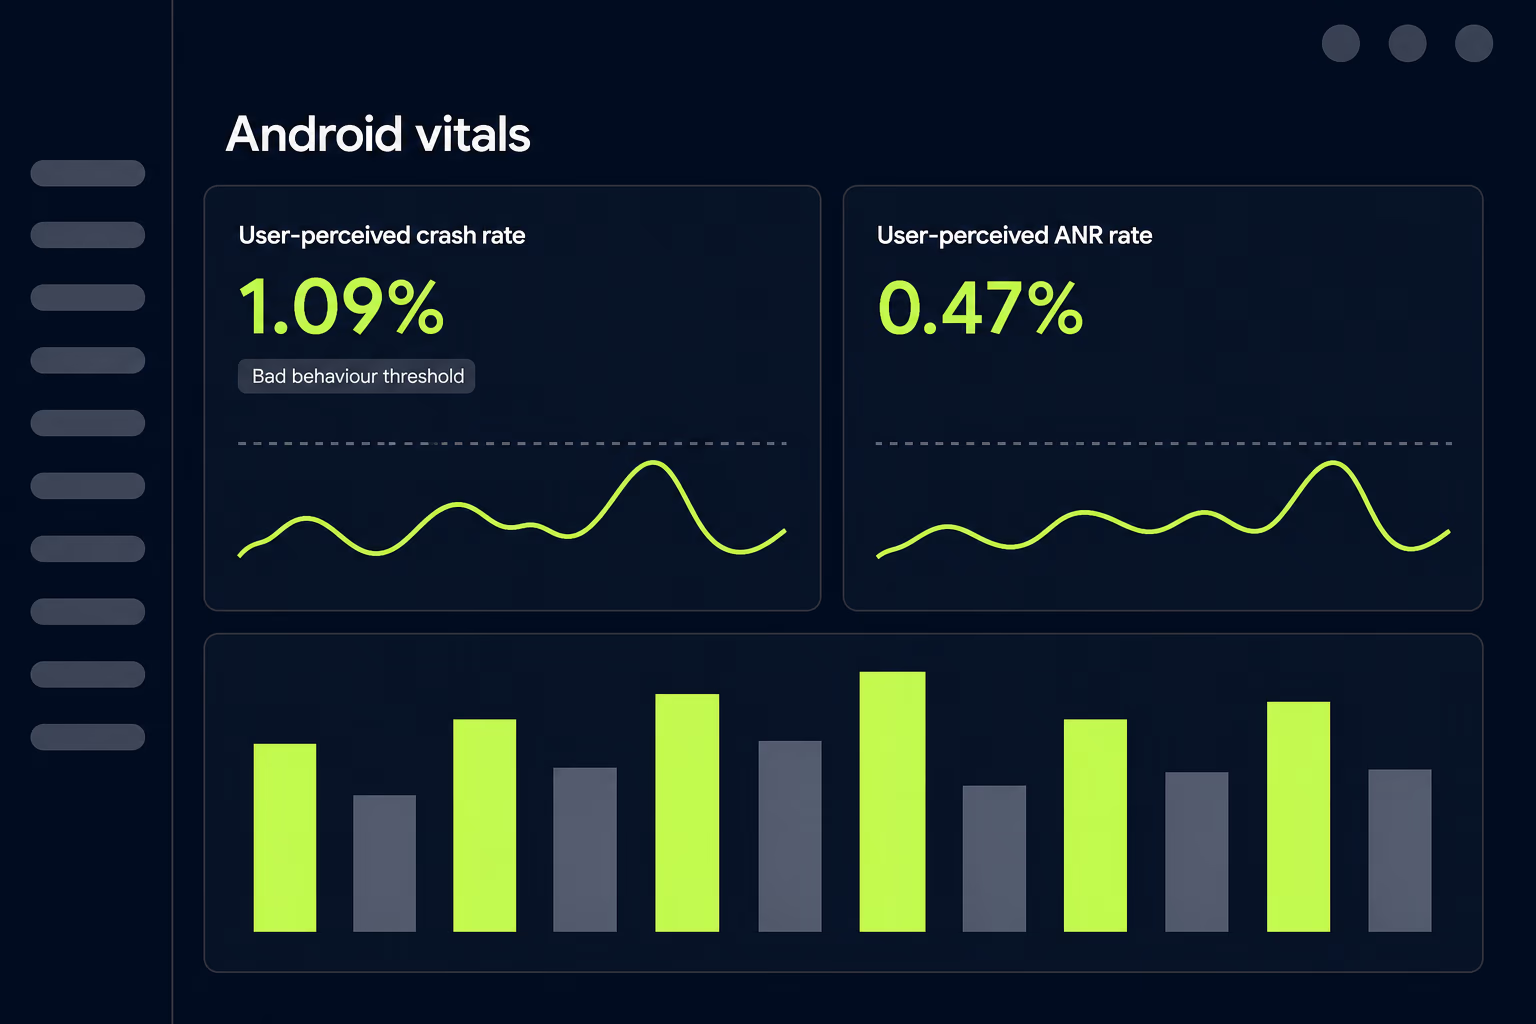
Android vitals sets bad behaviour thresholds at a user perceived crash rate of 1.09 percent and a user perceived application not responding rate of 0.47 percent, both a rolling 28 day average checked daily, plus separate per device thresholds of 8 percent for each on individual phone models. Excessive battery usage has a 1 percent threshold, and excessive partial wake locks a 5 percent one, with store visibility impact beginning on March 1, 2026. Cross any of them and Play may reduce the visibility of your title and show a warning on your store listing.
The per device numbers are what catch teams out: an app can sit at a healthy overall crash rate while being completely broken on one popular handset. That is the argument for the mid range Android rather than trusting an average.
What should you automate, and what should stay manual?
Automate the checks you’ll run identically on every release, and keep manual the ones whose value comes from a person noticing something looks off. A test asserting your sign in flow returns a session is worth writing once and running forever. A test asserting a screen looks right is expensive to maintain and fails for reasons nobody cares about.
The mistake worth avoiding is automating too early on an app you’ve just inherited. A suite written against a codebase you don’t understand encodes the current behaviour including the bugs, and then every fix you make later breaks tests that were documenting the wrong thing. Stabilise first, learn what the correct behaviour is, and write the suite against that. This is the sequence RapidLabs follows on an app takeover, and it usually means a few months of a disciplined manual checklist before automation is worth the money.
When you do automate, XCUITest and Espresso age better than the cross platform tools because the people who make the operating systems maintain them, though Appium, Maestro and Detox can still be right on a shared codebase. Whatever you pick, treat flaky tests as an emergency: a suite that fails at random gets ignored within two weeks and then provides nothing but a bill.
Where to start on your next release
Take the 47 above as the master list, then spend a day cutting it against your own crash reports, analytics and reviews. The version that survives is the only one anybody on your team will actually run, and its first draft will be wrong in places you’ll correct later.
Then decide which pass this release deserves before you start rather than while you’re testing: two hours for a hotfix, half a day for a normal feature, all 47 for anything that changes the foundation. Writing that decision next to the release notes removes most of the arguing, and makes the eventual question of why something got through much easier to answer honestly.
If the app in front of you is one you inherited and you can’t tell which pass it needs, that uncertainty is itself the finding. You can talk to a senior engineer about your app and get a straight answer about what’s fragile in it.
Frequently asked questions
What should a mobile app testing checklist include?
At minimum it covers what the app does, how it looks at different text sizes and orientations, how quickly it starts and responds, how it behaves on a weak or absent connection, what happens on a fresh install compared with an upgrade over the previous version, how it survives interruptions, whether someone using a screen reader can operate it, how it stores tokens and user data, and which phones and operating system versions it has to work on. Those categories are the outline rather than the checklist itself. The actual items come from your own crash reports, your analytics and your worst store reviews.
How many devices do you need to test a mobile app on?
Take your analytics, sort devices by session count and work down the list until you have covered roughly ninety percent of sessions, which for most apps lands between six and ten device and operating system combinations. The shape of that set matters more than the number. You want one current iPhone, one iPhone that is three or four years old, one Android flagship, one mid range Android where performance problems appear first, and the oldest operating system version you still support.
What is a good crash rate for a mobile app?
Google Play sets the practical bar for Android through Android vitals, where the bad behaviour threshold for user perceived crash rate is 1.09 percent and the threshold for user perceived application not responding rate is 0.47 percent, both measured as a rolling 28 day average. Crossing either one puts your store visibility at risk, so treat those numbers as a ceiling you stay comfortably under rather than a target you aim at. Apple publishes no equivalent public threshold, which means on iOS you are measuring yourself against your own history instead.
Should you test on real devices or emulators?
Use simulators and emulators for everyday development, because they are faster and free, and use real devices for the pass that decides whether a release ships. An emulator runs on your computer's processor with your computer's network, so it cannot show you thermal throttling on a warm phone, a manufacturer's modified version of Android, a real cellular connection dropping in a lift, or how the app behaves when the battery is at four percent. Those are exactly the conditions that produce the reviews you do not want.
How long should testing take before a mobile app release?
Size the pass to the risk of the change rather than to the calendar. A one line hotfix deserves about two hours covering the fix itself, a cold launch, sign in and the flow that earns money, plus an upgrade install over the previous version. A normal feature release deserves half a day of regression checks. A release that changes the foundation, such as an operating system target bump or a payment provider swap, deserves a full pass across every category.
Do you still need a mobile app testing checklist if you have automated tests?
Yes, because automated tests only cover what someone decided to write a test for, and the checklist is what stops the gaps from being invisible. In practice the checklist and the test suite grow into each other. Any item you run identically on every single release belongs in automation, and the checklist then records that it is covered, while the items that depend on a person noticing something looks wrong stay manual permanently.
Have a product decision to make?
RapidLabs helps founders and operators shape, build, and launch focused software.
Email the studio